


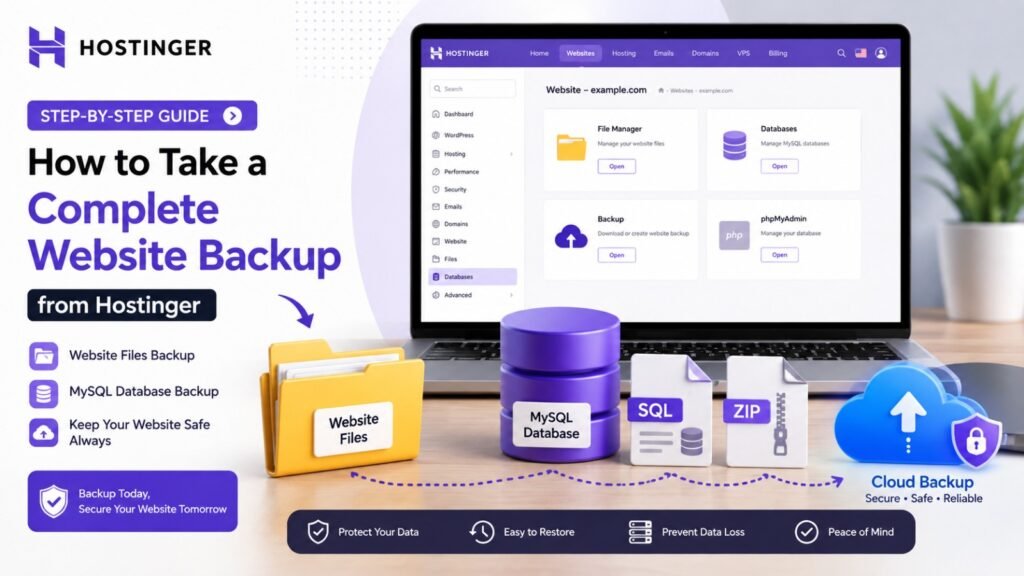
How to Take a Complete Website Backup from Hostinger – Step-by-Step Guide
If your website is hosted on Hostinger, you can create a backup of your website files and database using the hosting control panel.
In this guide, we will explain how to take a complete website backup from Hostinger step by step, even if you are a beginner. Why Should You Take a Website Backup?
Regular backups can protect you from many unexpected problems.
Common situations where a backup can help:
Website gets hacked
Important files are accidentally deleted
WordPress update causes an error
Plugin or theme creates a conflict
Website migration is required
Hosting account needs to be changed
Database gets corrupted
Developer accidentally changes important code
Website needs to be restored to an earlier version
A good rule is:
Before making major changes to your website, always take a fresh backup. What Do You Need for a Complete Backup?
Before starting, you should have:
Access to your Hostinger account
Access to your website’s hosting
Access to File Manager
Access to the website database
Enough storage space on your computer
You will ultimately have two important backup files:
Website Files: .zip
Database: .sql
Keep both files safely.
Step 1: Log in to Hostinger
First, log in to your Hostinger account.
After logging in:
Open your Hostinger account.
Go to Websites.
Find the website you want to back up.
Click Manage.
You should now see the management area for your website.
Step 2: Open File Manager
The next step is to create a backup of your website files.
From your website’s Hostinger dashboard:
Find File Manager.
Open File Manager.
Locate the folder where your website files are stored.
For many websites, this will be:
public_html
Your website’s exact folder structure can vary depending on your hosting setup.
Step 3: Select Your Website Files
Open the public_html folder.
You will see your website files and folders.
For example, a WordPress website may contain folders such as:
wp-admin
wp-content
wp-includes
and files such as:
index.php
wp-config.php
.htaccess
Select the files and folders that belong to your website.
Important
Make sure you are backing up the correct website directory.
If you host multiple websites in the same hosting account, don’t accidentally download another website’s files.
Step 4: Compress the Website Files
Instead of downloading hundreds or thousands of files individually, it is much easier to compress them into one ZIP file.
In File Manager:
Select the website files/folder.
Choose the Compress/Archive option.
Select ZIP format.
Give the backup a meaningful name.
For example:
website-backup-2026-08-12.zip
Using the date in the filename makes it easier to identify older backups.
Wait for the compression process to finish.
Step 5: Download the ZIP File
Once the ZIP file has been created:
Select the ZIP file.
Choose Download.
Save it somewhere safe on your computer.
You now have a backup of your website files.
However, the backup is not complete yet.
You still need to back up your database.
Step 6: Find Your Website Database
For a WordPress or PHP website, you will usually need to export the MySQL database.
You can identify the database information from your website configuration.
For WordPress, open:
wp-config.php
Look for database settings such as:
define(‘DB_NAME’, ‘your_database_name’);
define(‘DB_USER’, ‘your_database_user’);
Do not share your database password publicly.
The exact database-management options available in Hostinger can vary depending on your hosting plan and current hPanel interface.
Step 7: Open phpMyAdmin
From your Hostinger dashboard, go to the database section and open phpMyAdmin for the relevant database.
You may see multiple databases if your hosting account contains multiple websites.
Make sure you select the database belonging to the correct website.
Step 8: Export the Database
After opening the correct database in phpMyAdmin:
Select the database.
Go to the Export option.
Choose the appropriate export method.
Select SQL as the format.
Start the export.
The database will be downloaded to your computer as an SQL file.
For example:
website-database-2026-08-12.sql
This SQL file contains the database information needed for restoration or migration.
Step 9: Check Your Backup
Now you should have at least two important files:
website-backup-2026-08-12.zip
website-database-2026-08-12.sql Thanks and Regards www.kotapride.in www.digitalmarketingkota.in
Contact Detail
Call/Whatapp: 9828036274
Website: www.kotapride.com, www.kotaprideacademyonline.com
google buisness profile link for kotapride kota: https://maps.app.goo.gl/iWQE5h56qioeXakw5